Making an ex Pokemon card using Photopea
by bradhamter
Hello! Today I will be teaching you how to make an ex Pokemon card using Photopea!
Requirements:
- A basic understanding of how Photopea works
1) You are going to need your card template. You can either buy official looking templates from aschefield's DeviantArt, or use community templates, such as Quantum Contour 2 by EnvoyOfHell, which is what I am going to be using for this guide.
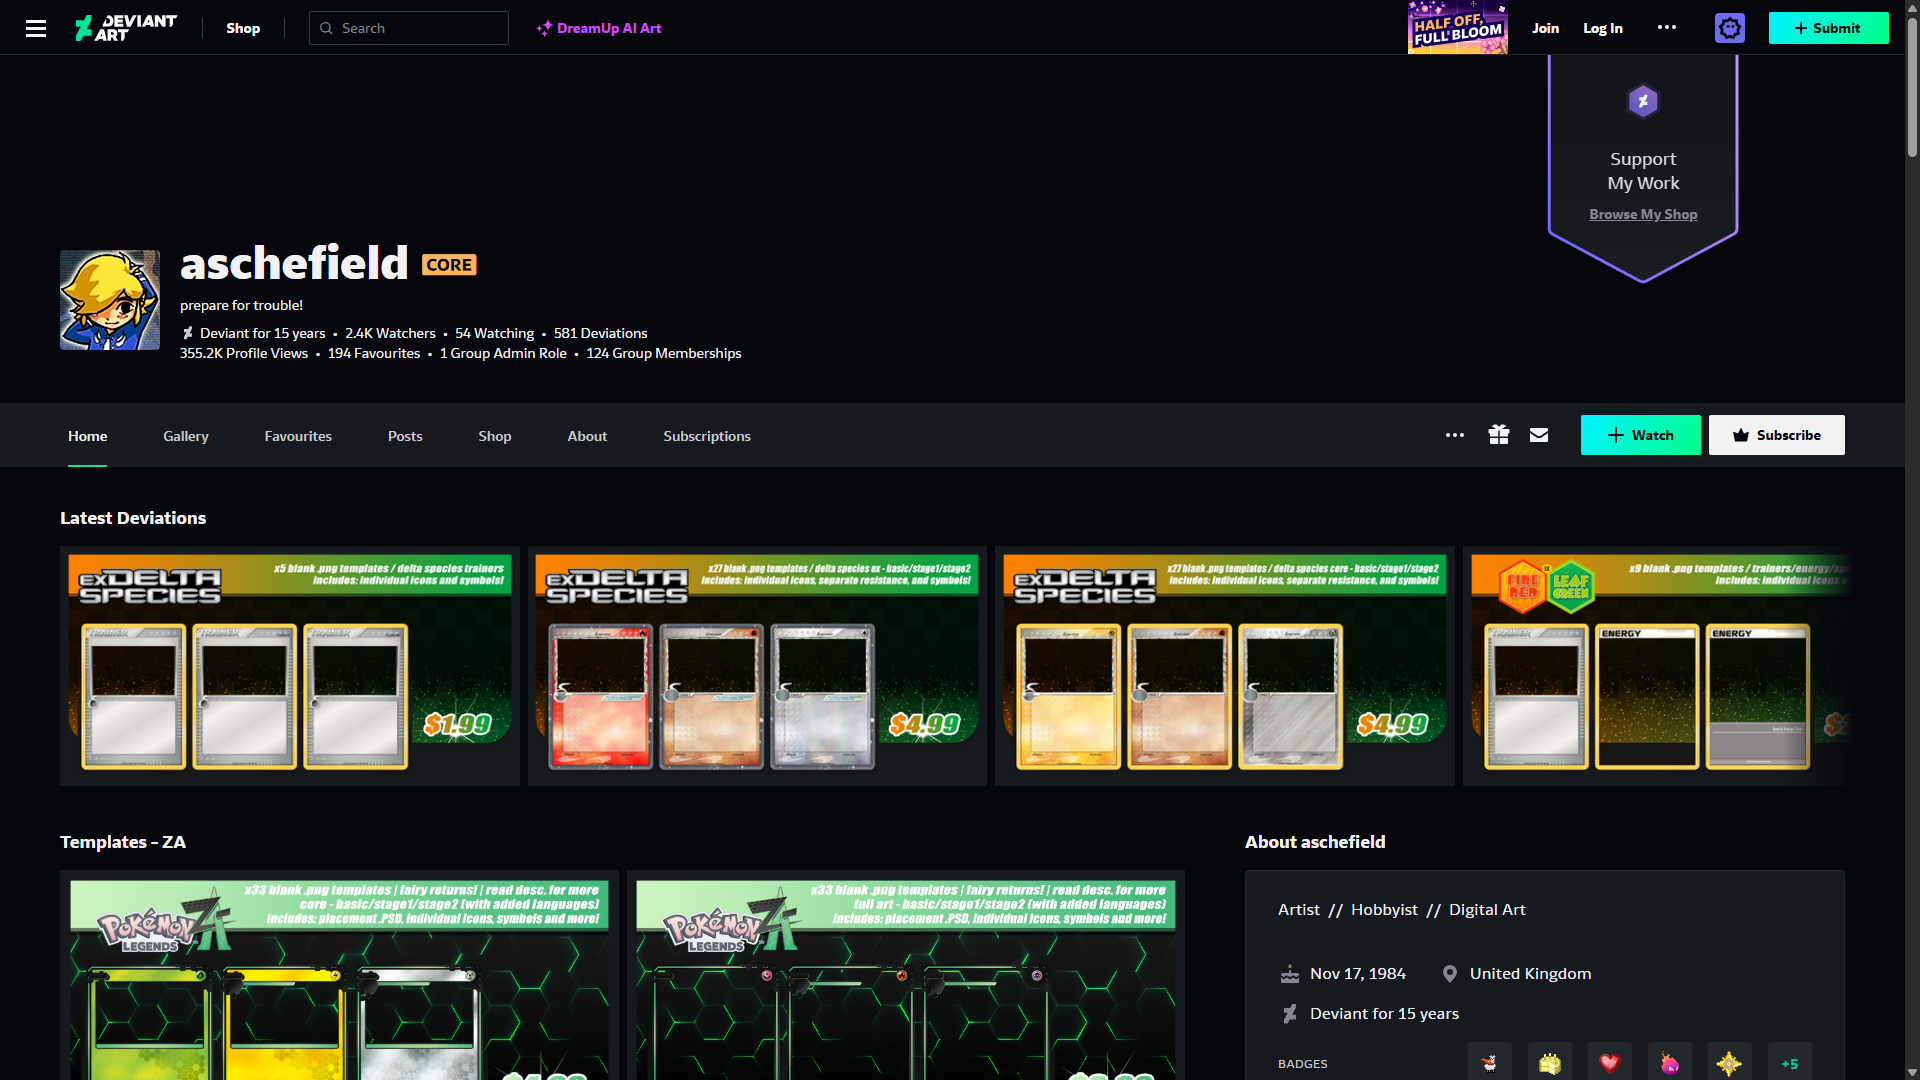
Image 1: aschefield's DeviantArt

Image 2: Quantum Contour 2 banner
2) The next step is to find a render. You can find a lot of these in the "Some Miscellaneous Pokemon Renders" channel in the PokeCardMaker.net Discord server. I will be using this Regigigas render by ZbytSmol.
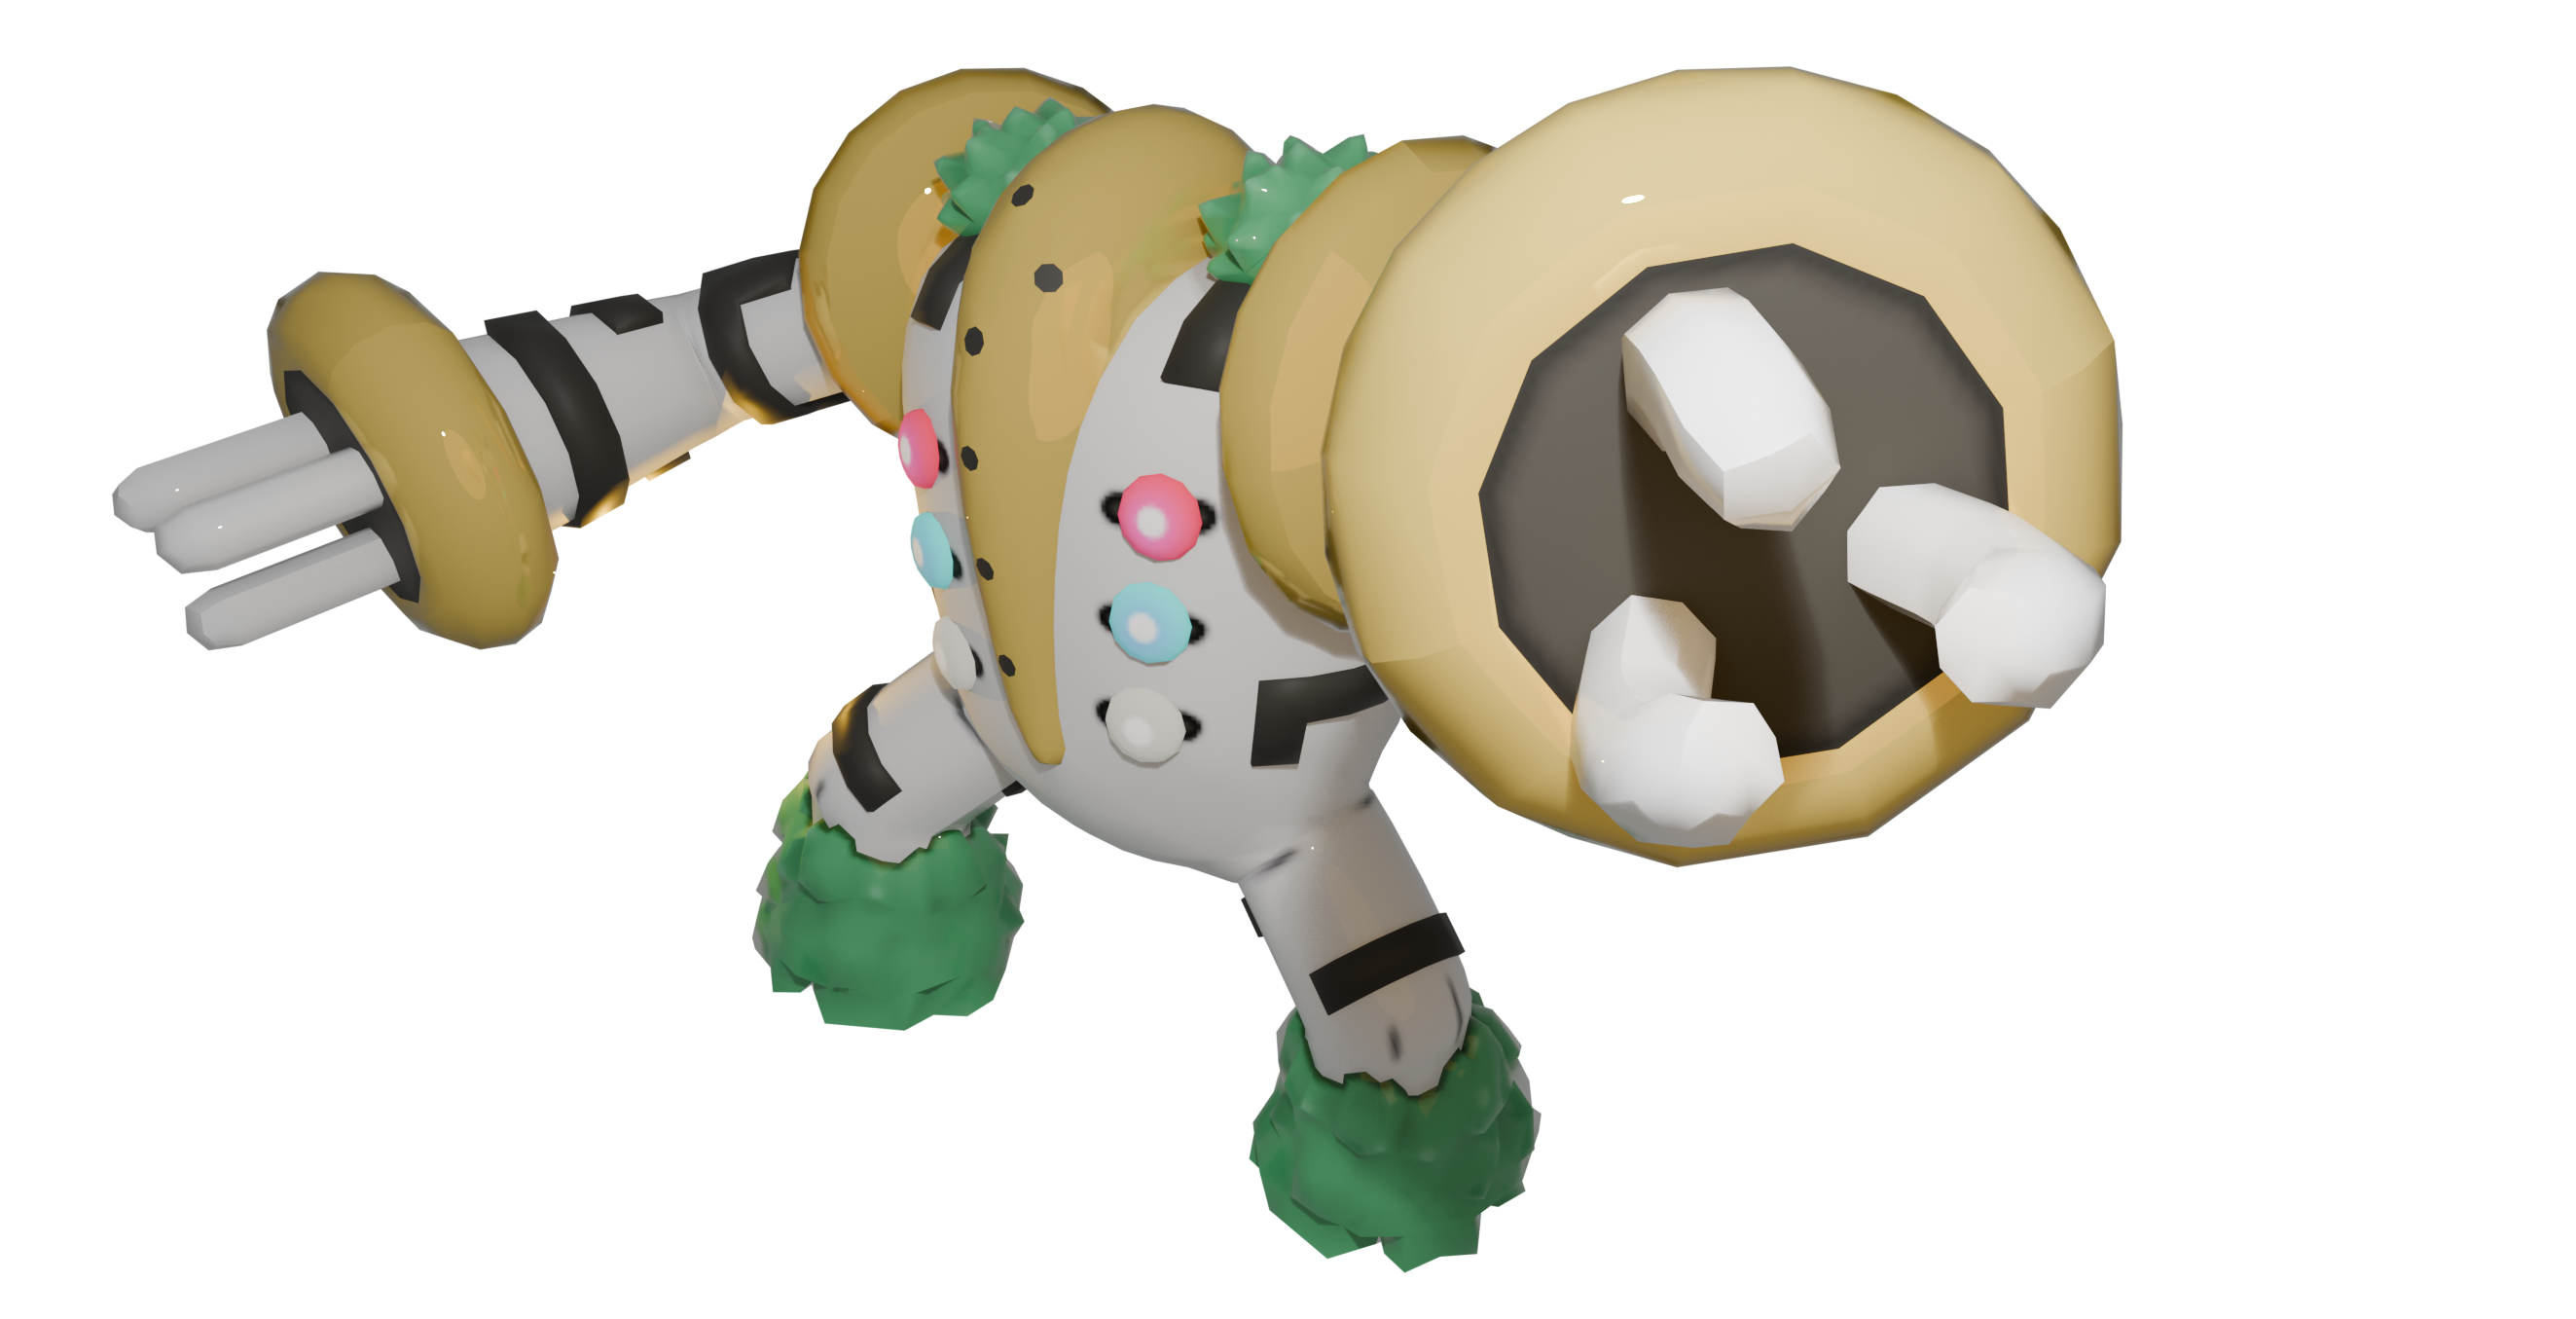
Image 3: Regigigas render
3) You can now open Photopea and import the card template and render, and size it how you want.
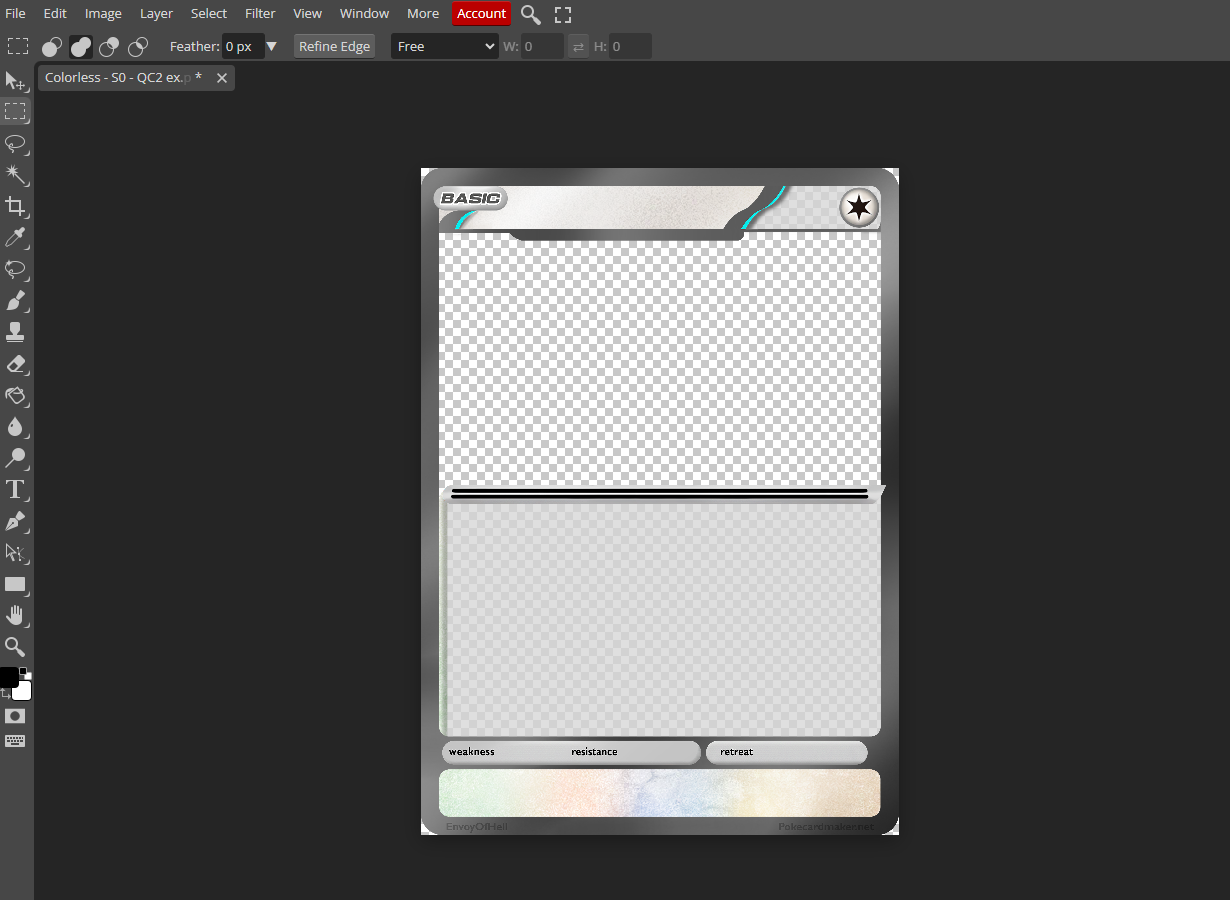
Image 4: Card template imported
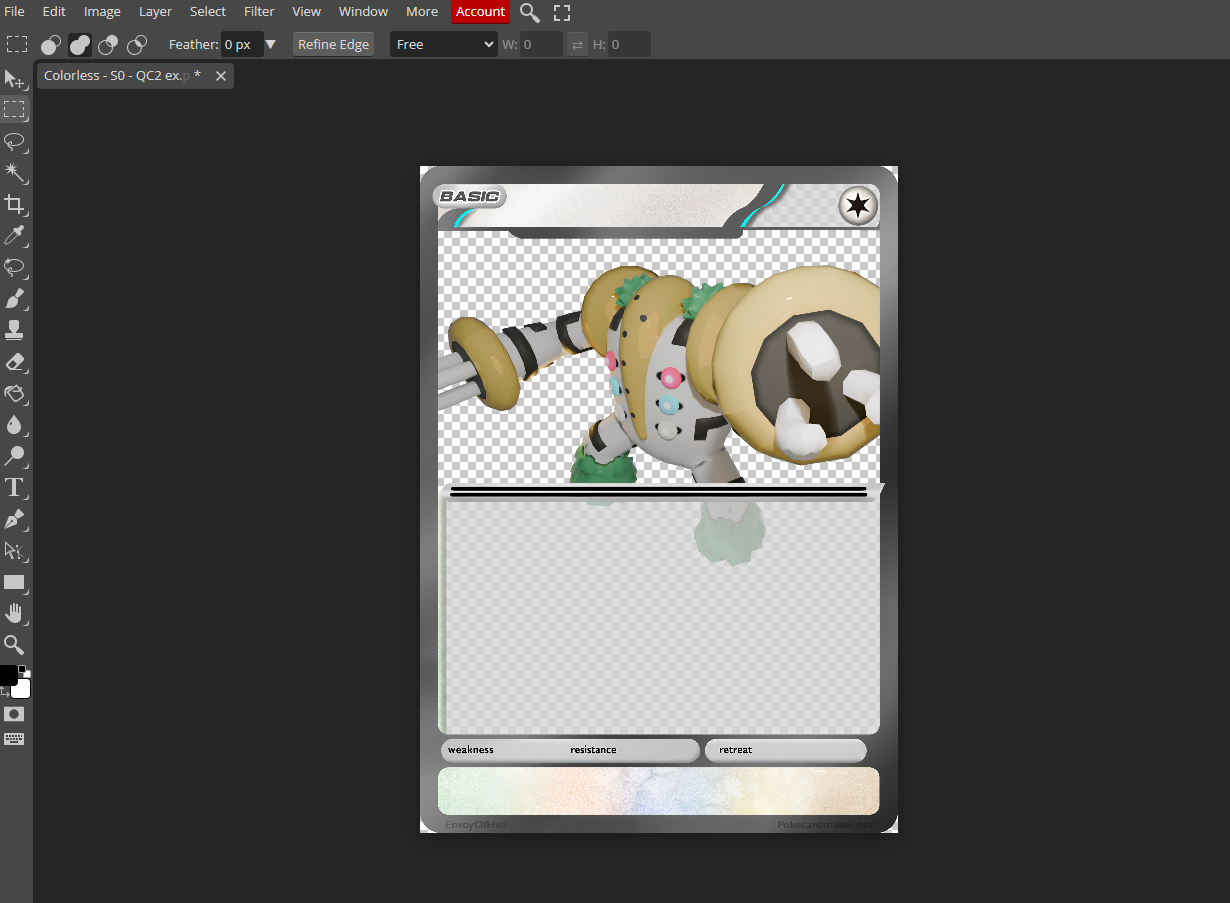
Image 5: Render imported and sized
4) Now you can put your render over the frame. Avalan goes more in depth on this topic in his guide, but how I do it is I use the "Magic Replace" tool to cut out the part I want over the frame, put it on a new layer, and move the layer over the card template layer.
Video 1: My guide to putting your render over the frame
4.5) If you want, you can now put your overlays which the effects shouldn't go over. This includes your Weakness/Resistance/Retreat bar, stage icon, evolution bar, and rulebox. This is not required, but I highly recommend it as it makes your card look much better.
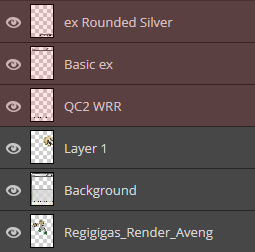
Image 6: Overlays highlighted in red
5) Now it's time to get your effects and background and put them on your card! I would recommend EnvoyOfHell's collection of Pokemon Card Art for getting these.
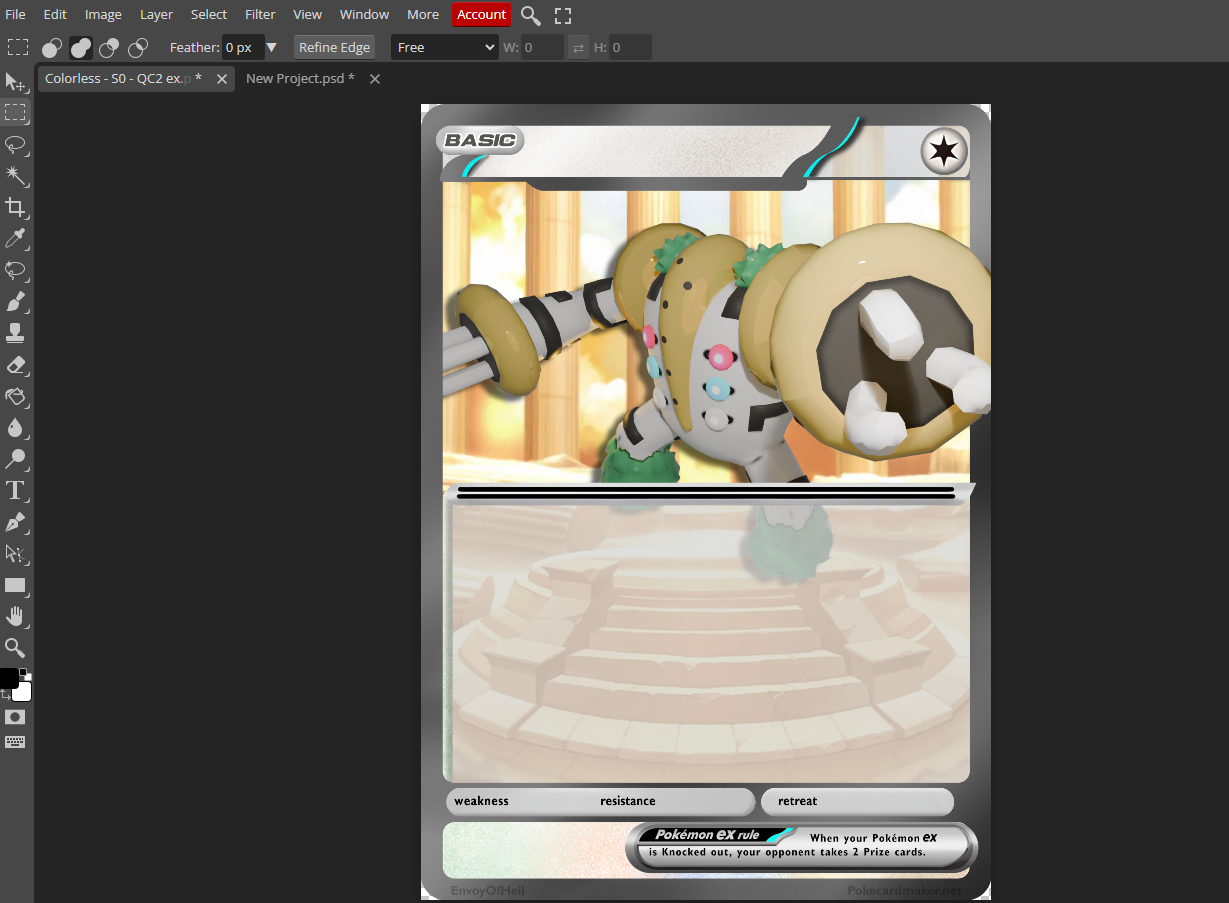
Image 7: Added background (also added shadows here, see Avalan's guide)
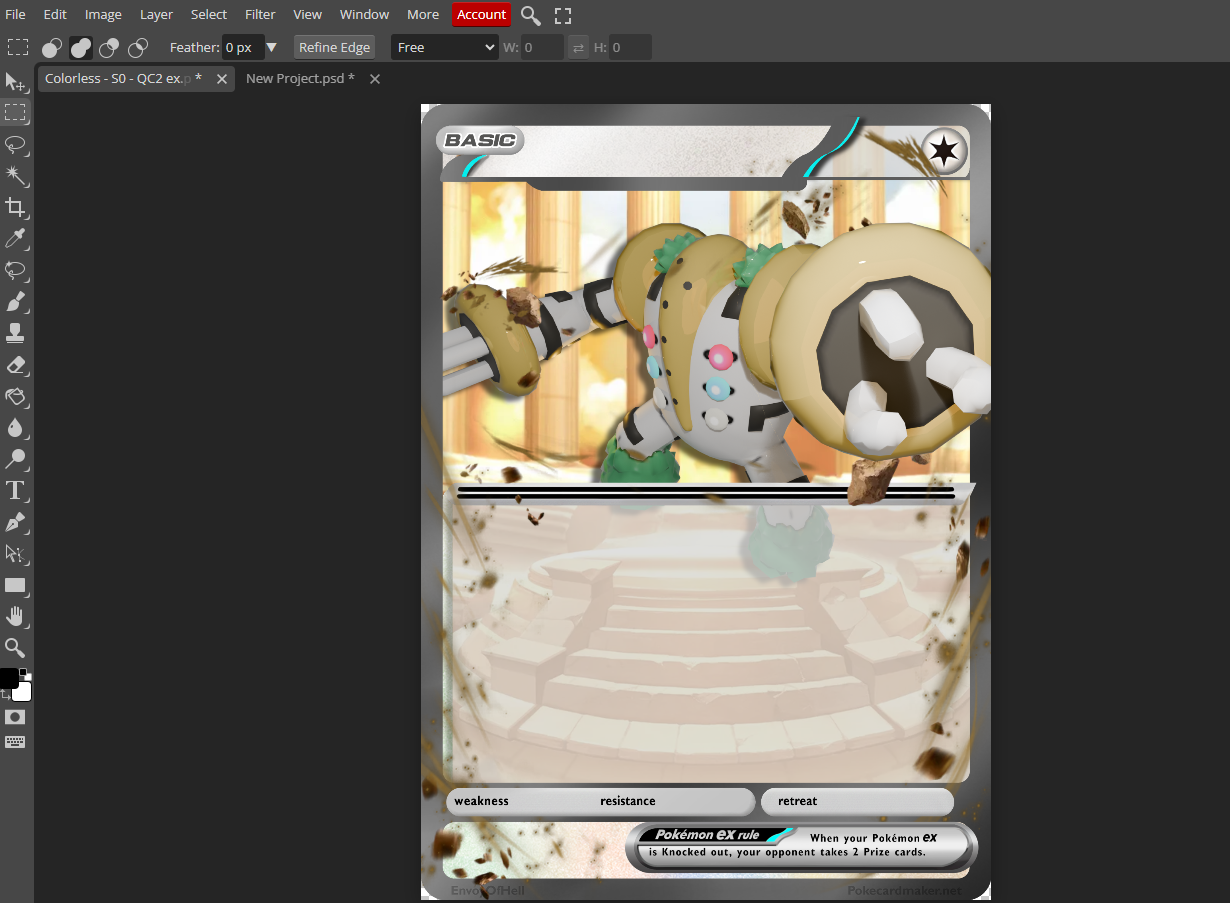
Image 8: Added effects
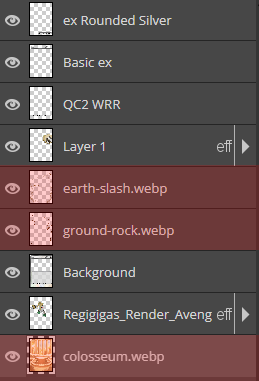
Image 9: New layers highlighted in red
6) You can now save your card image as a png, and import it to PokeCardMaker.net over the Template Image layer, but below the Template Text layer.
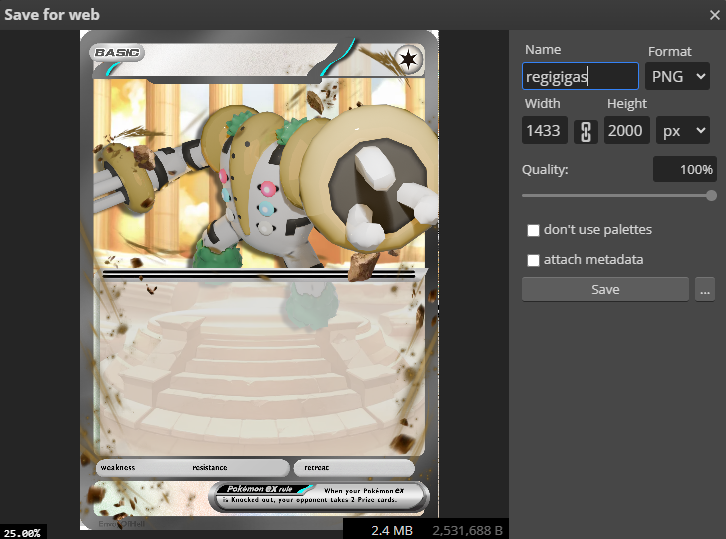
Image 10: Export your card image as a .png
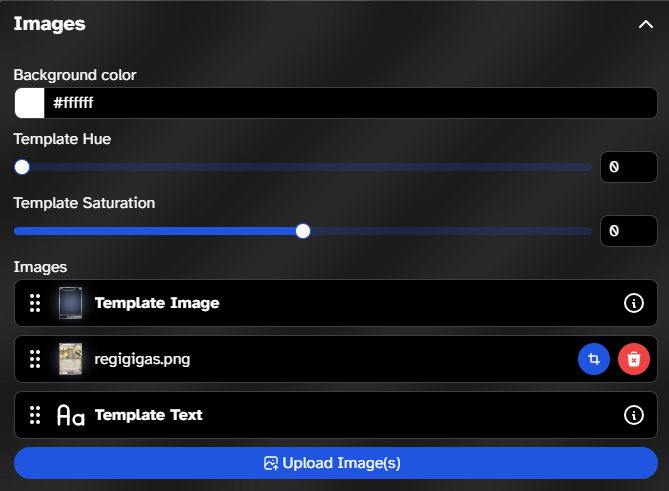
Image 11: Card image imported in PokeCardMaker.net
7) For the final step, you can set your card information! I am not going to provide a balancing guide here, but I use PkmnCards.com to look up official cards.
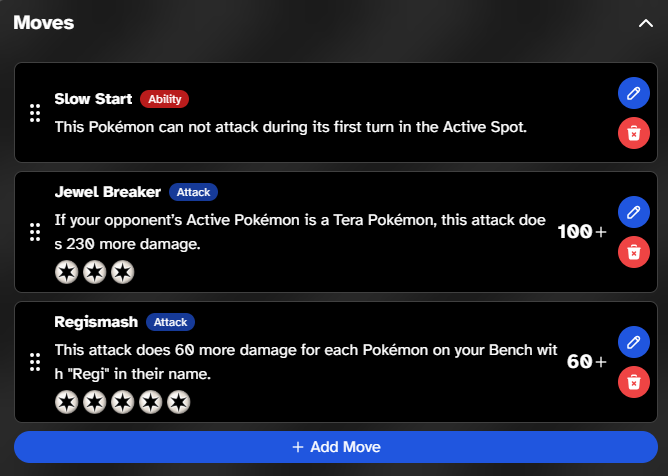
Image 12: Moves section in PokeCardMaker.net
You are now done! You can upload your card, download it, whatever you want. My finished result is attached, and you can view it on PokeCardMaker.net here.
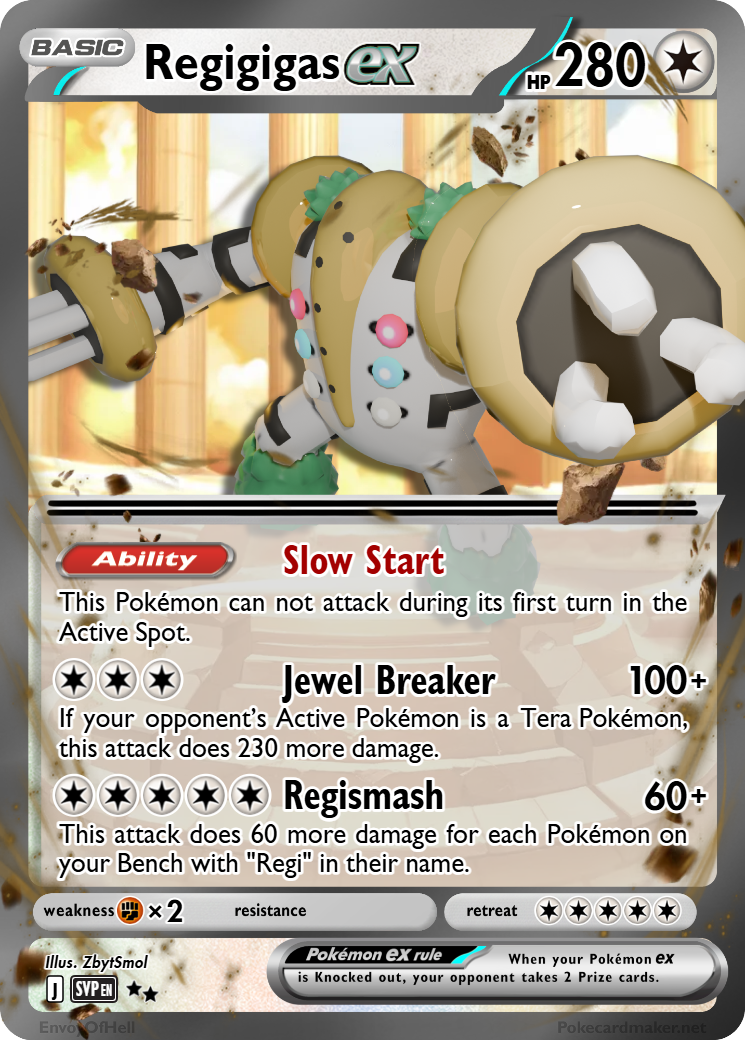
Image 13: Finished result